Using GIF Studio, make a GIF is quick and easy. This article will show you how to make an animated gif from photos. It also briefly introduces other functions to manipulate GIF in this Further Reading. You can jump to the video section to watch GIF Studio in action.
Ready for action, GIF Studio Apk is now available on Google PlayTM.
-
Android, Google Play and the Google Play logo are trademarks of Google Inc.
Make Animated GIFs from Photos
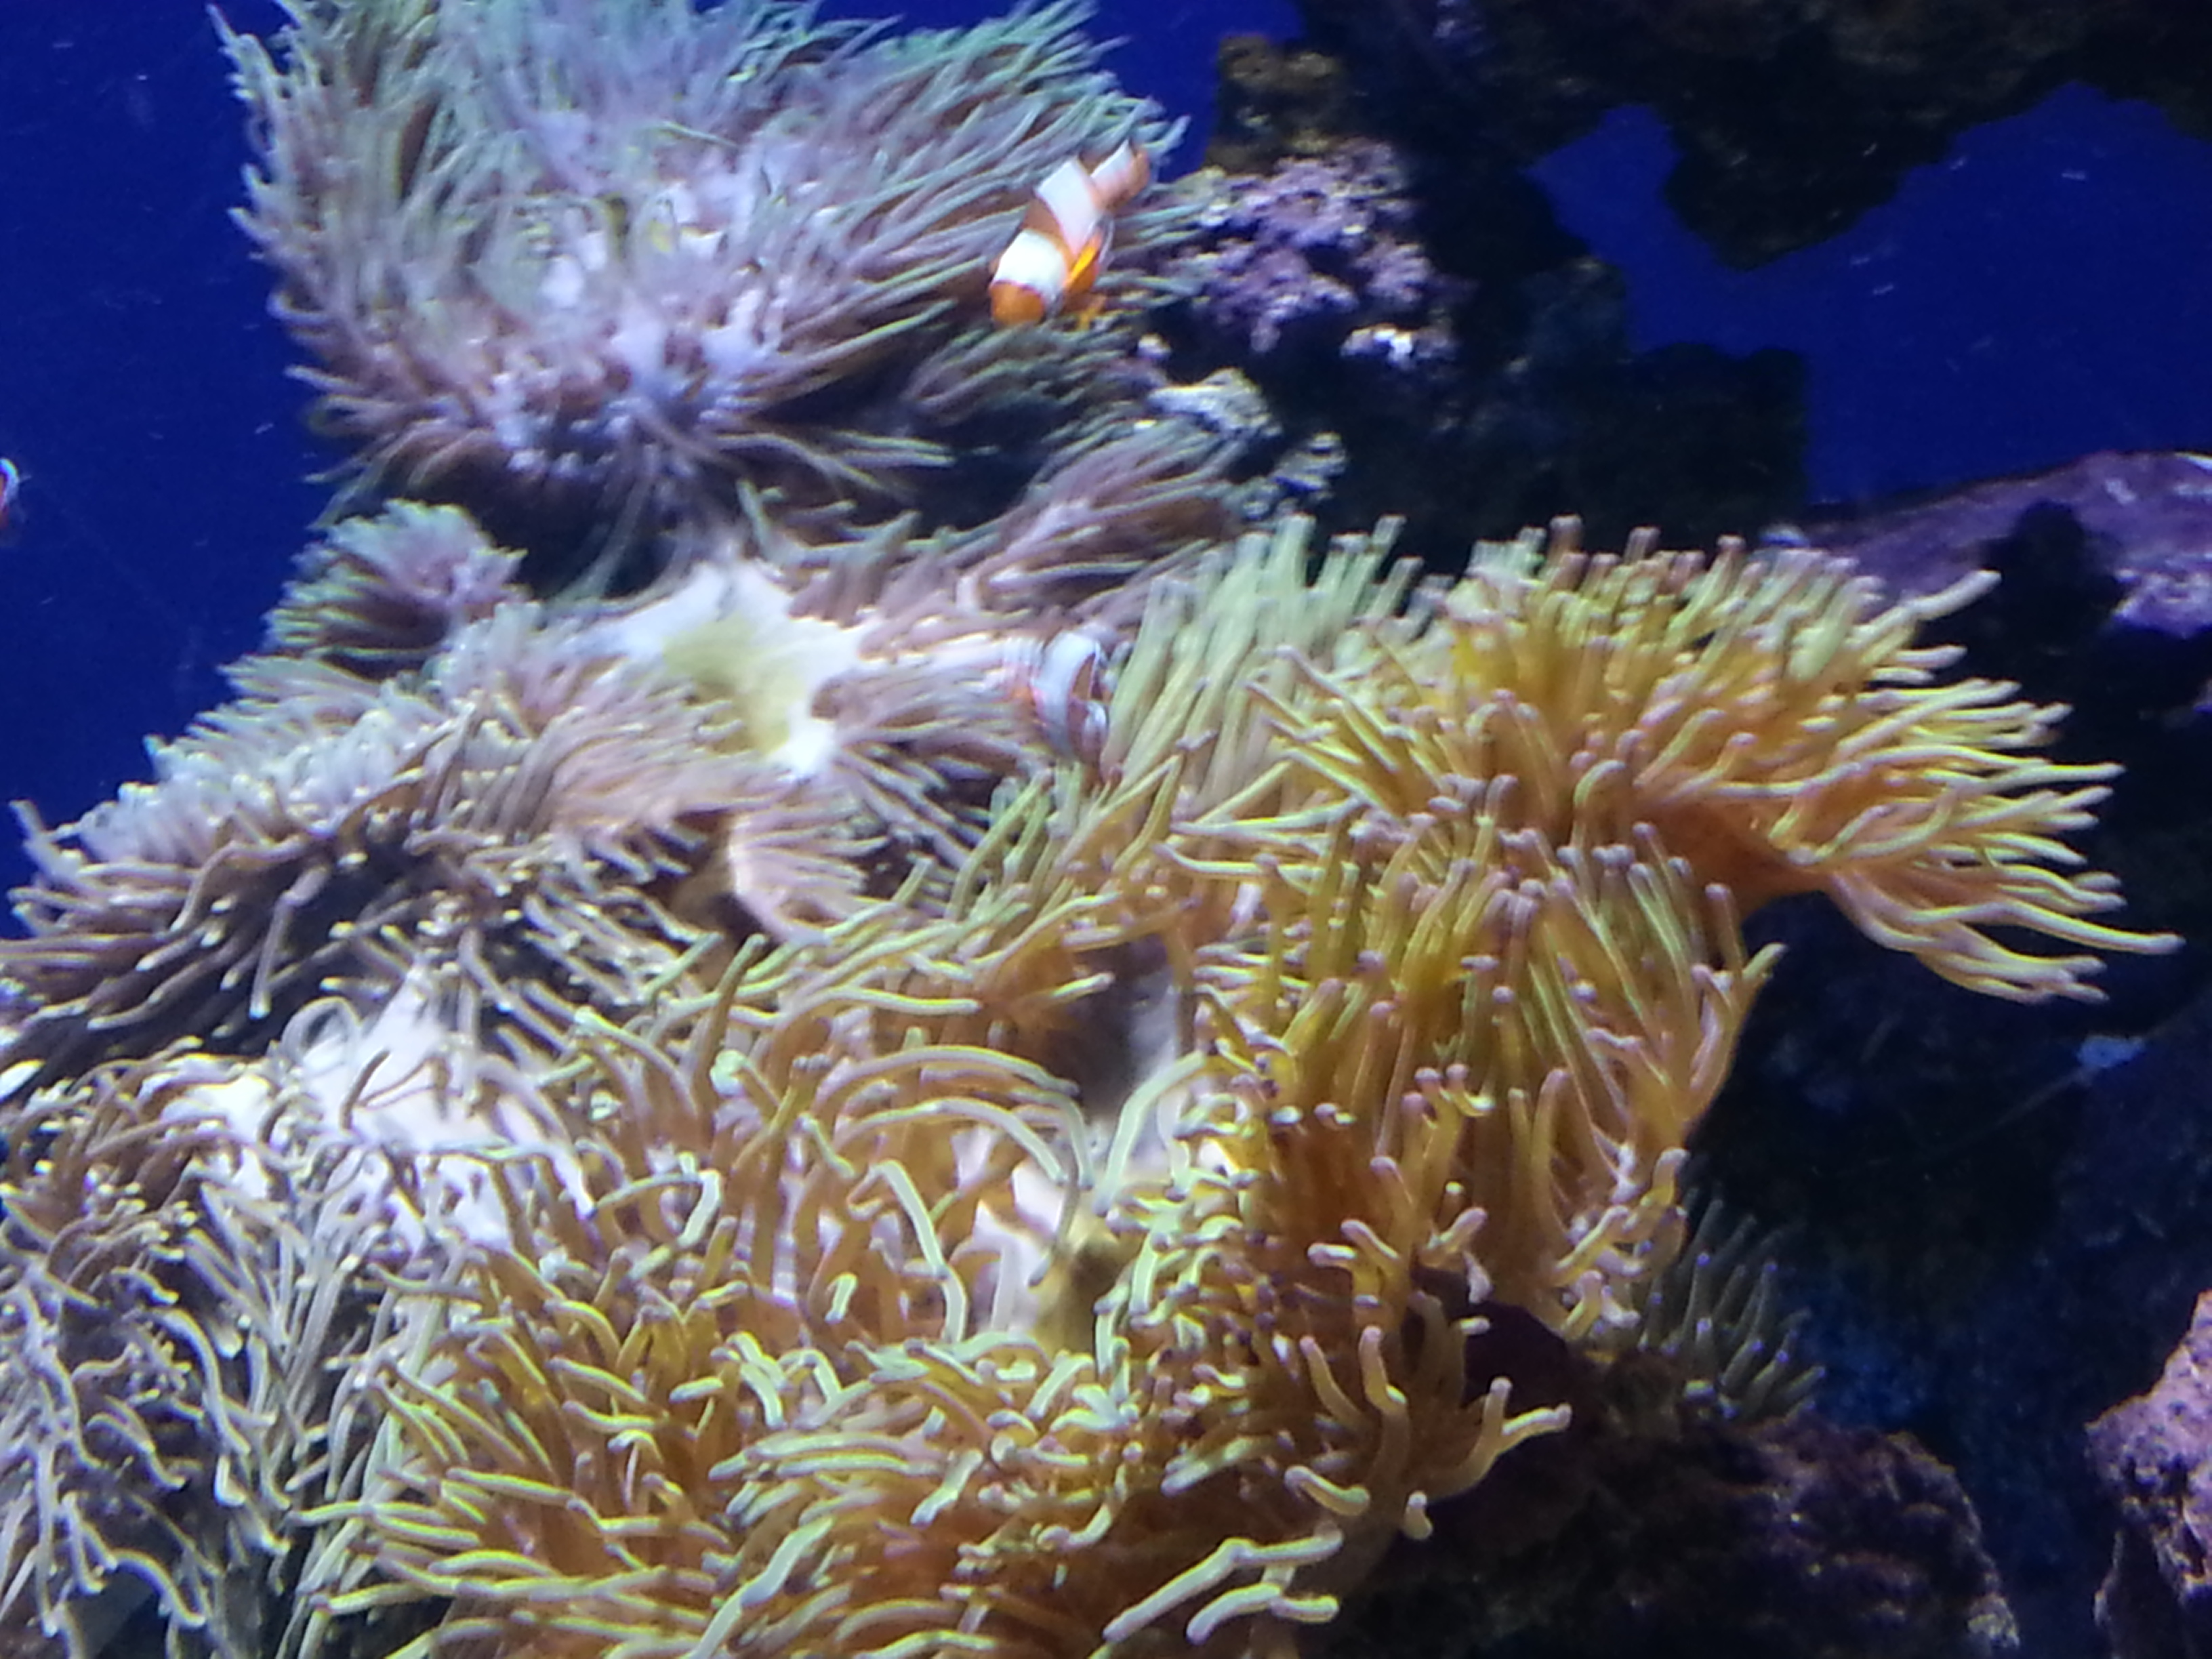
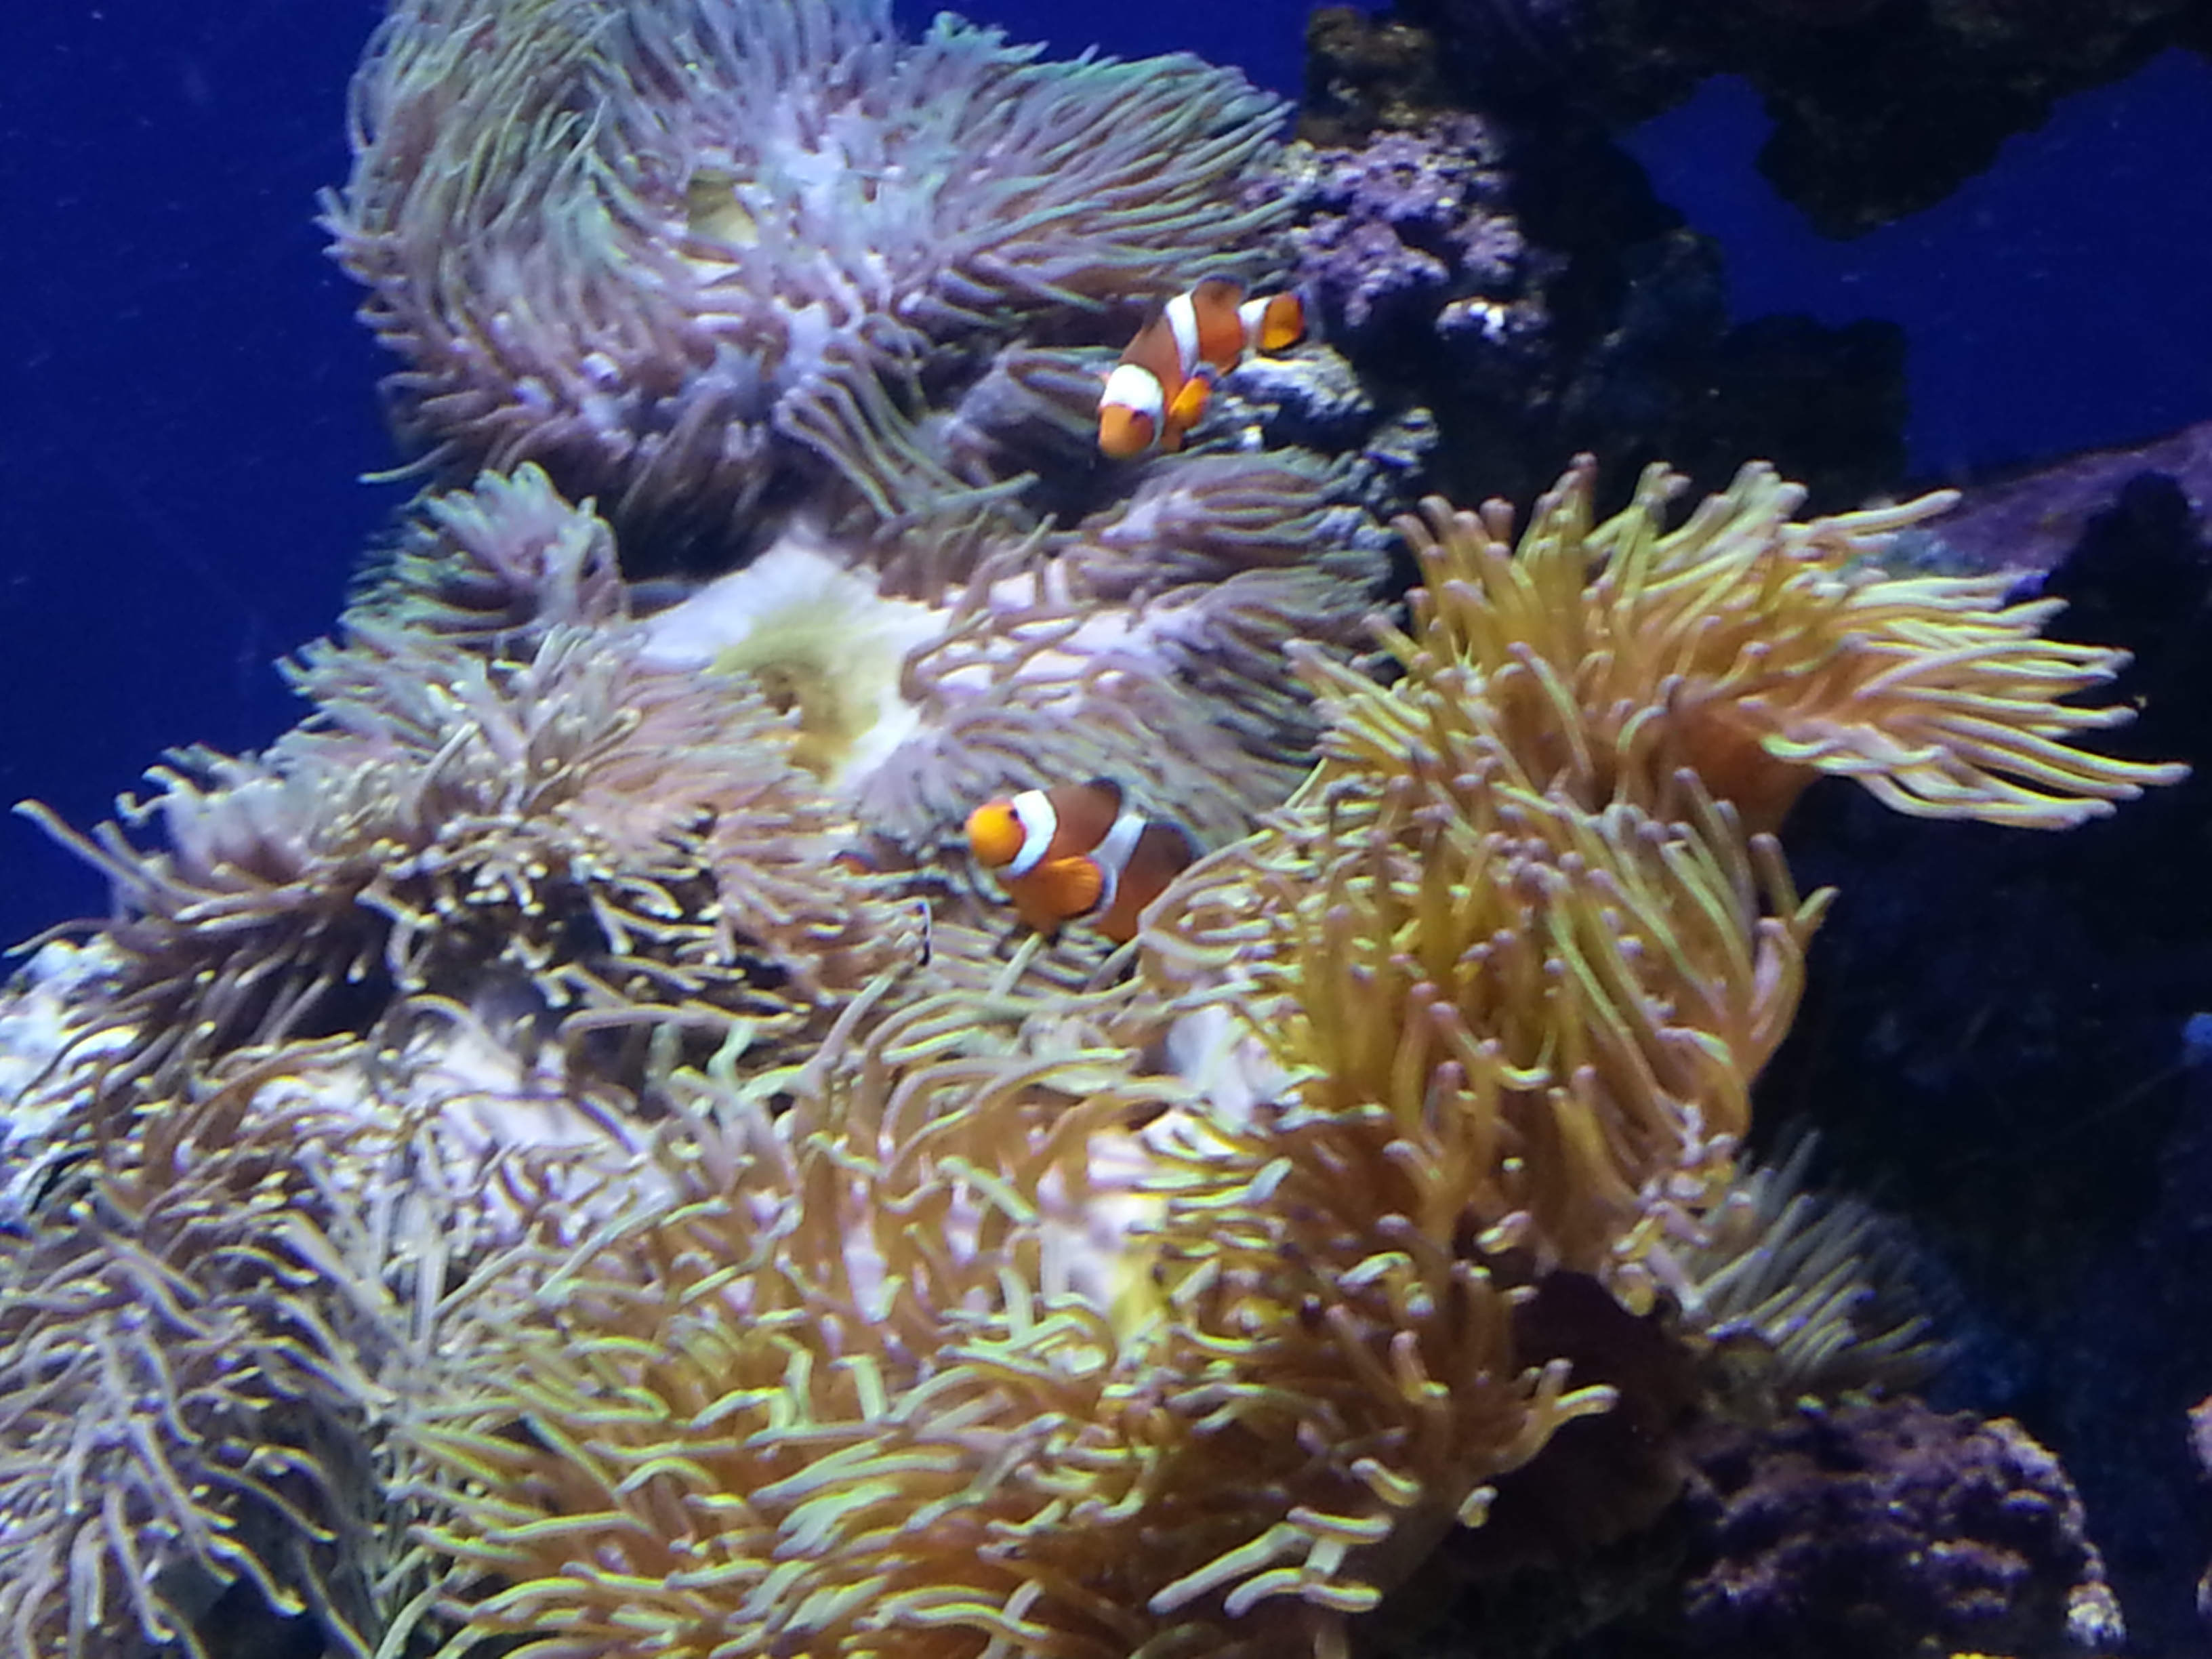
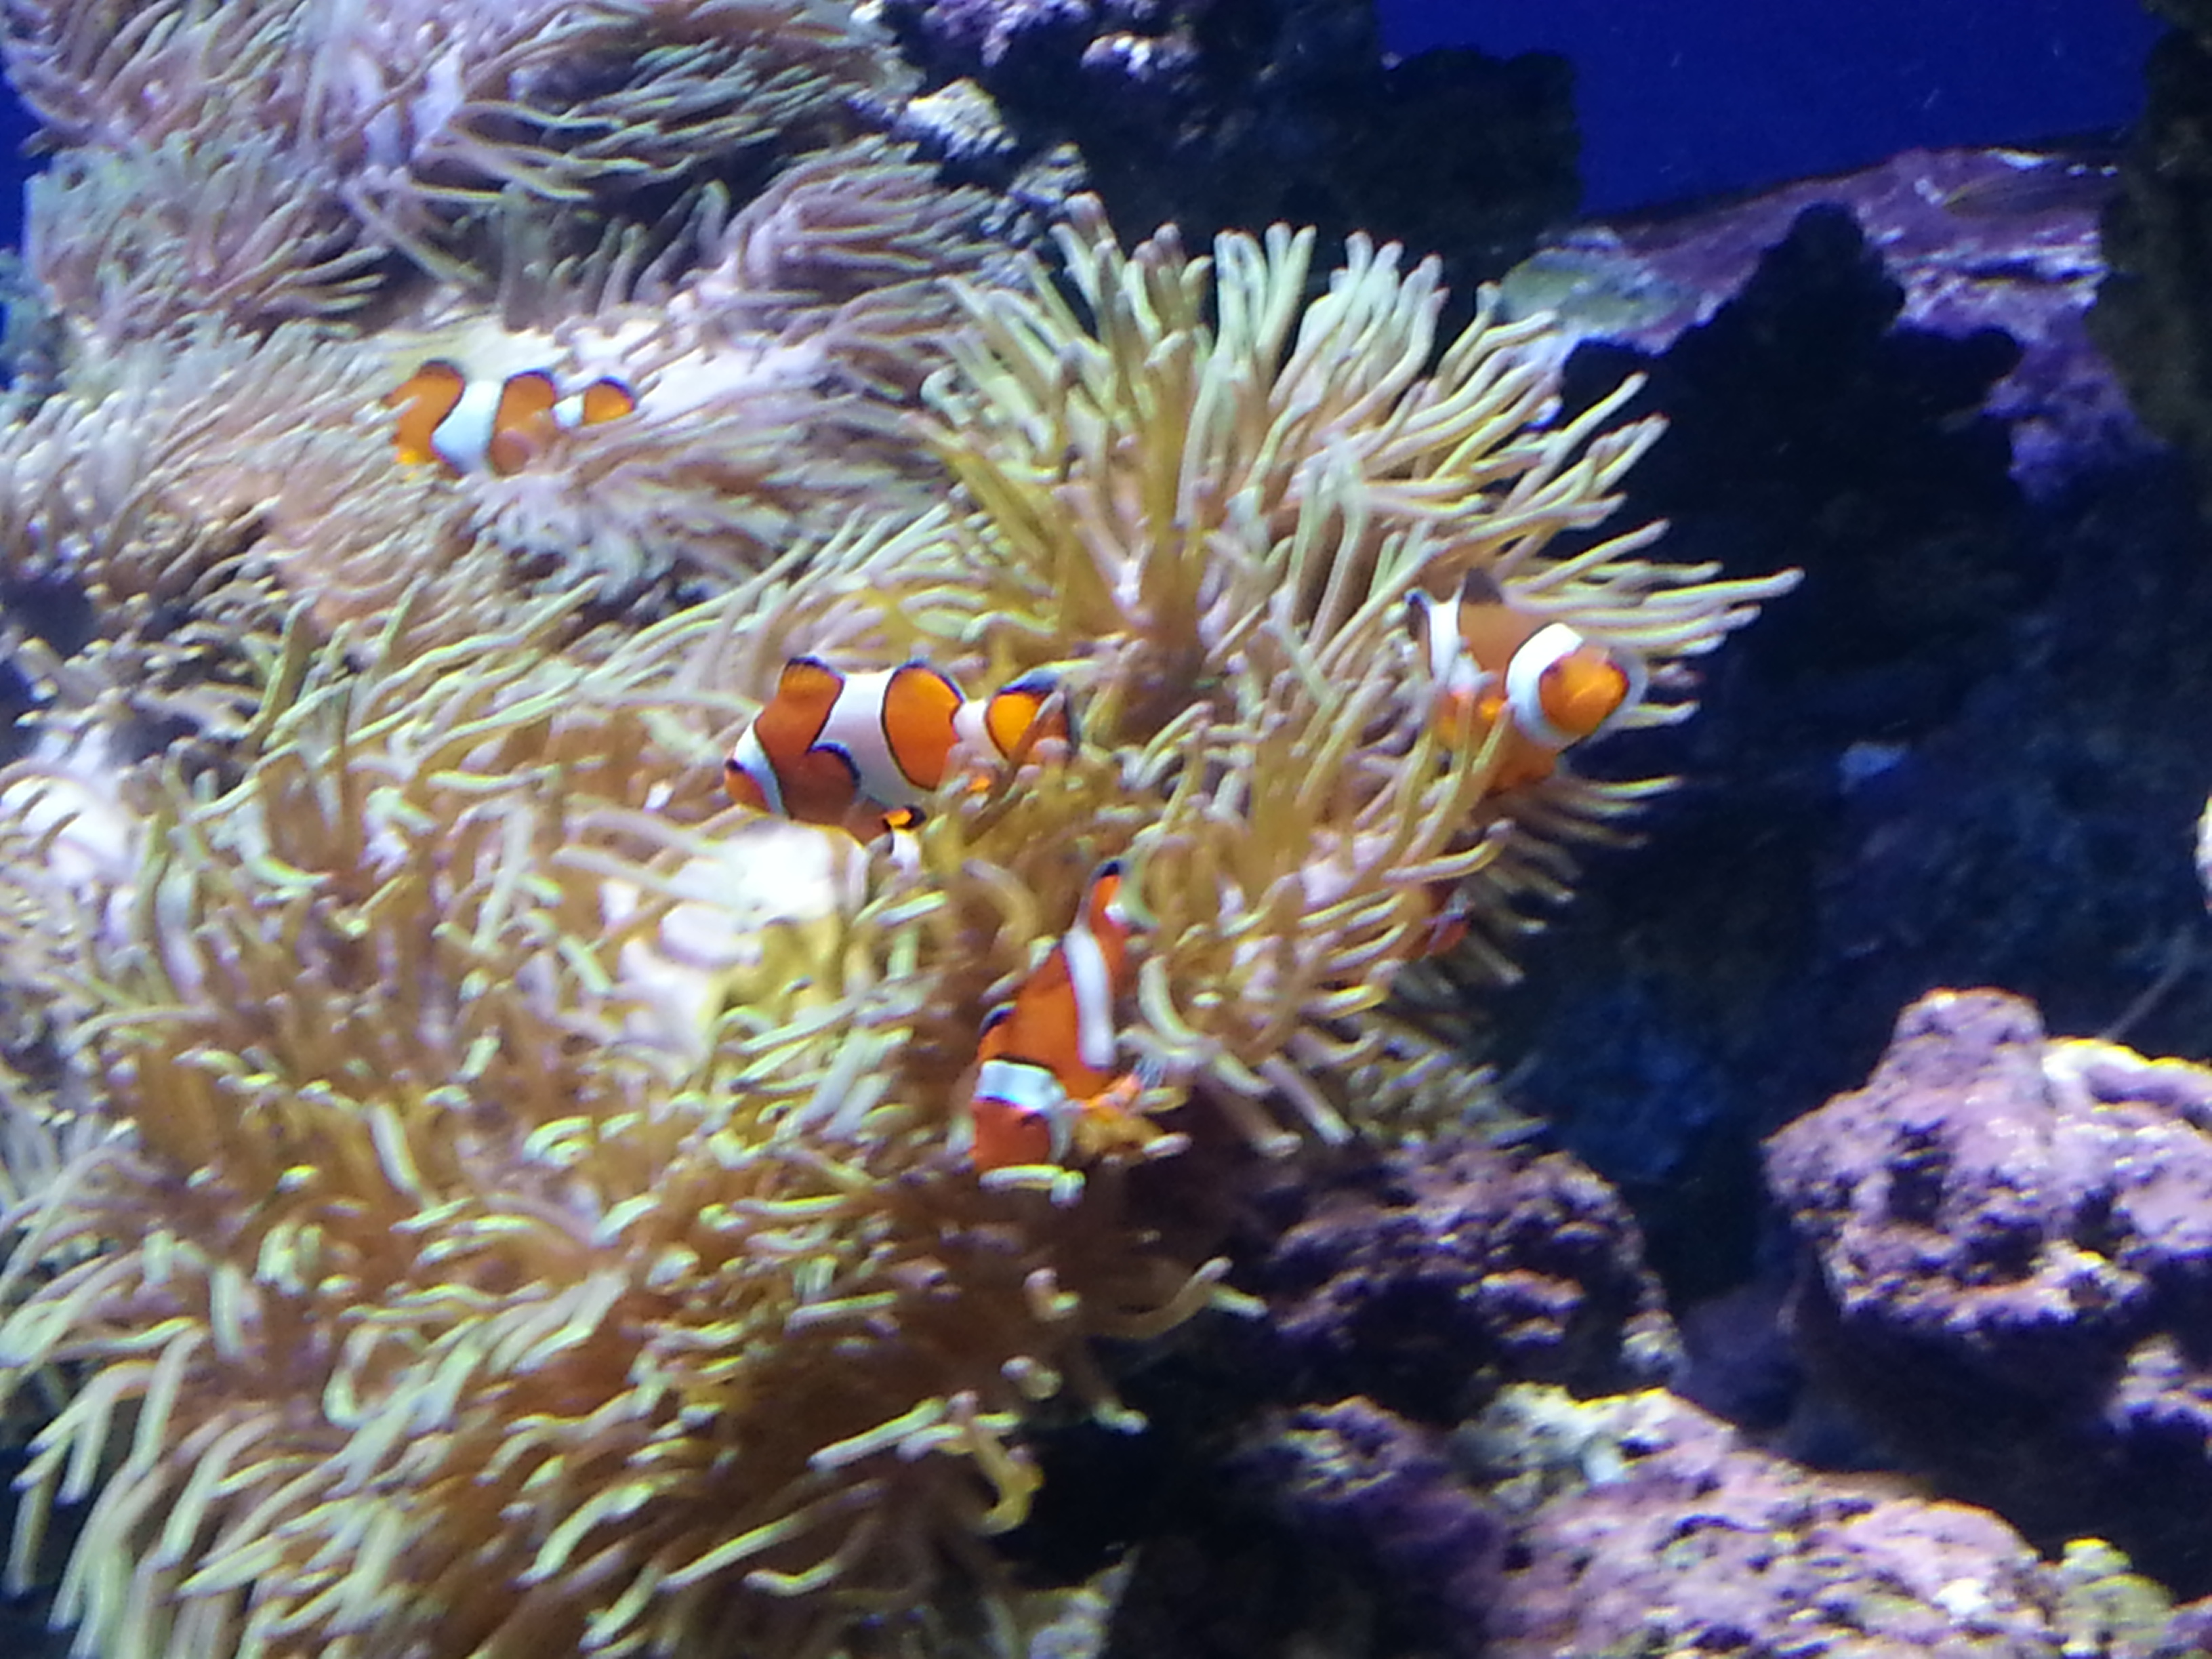
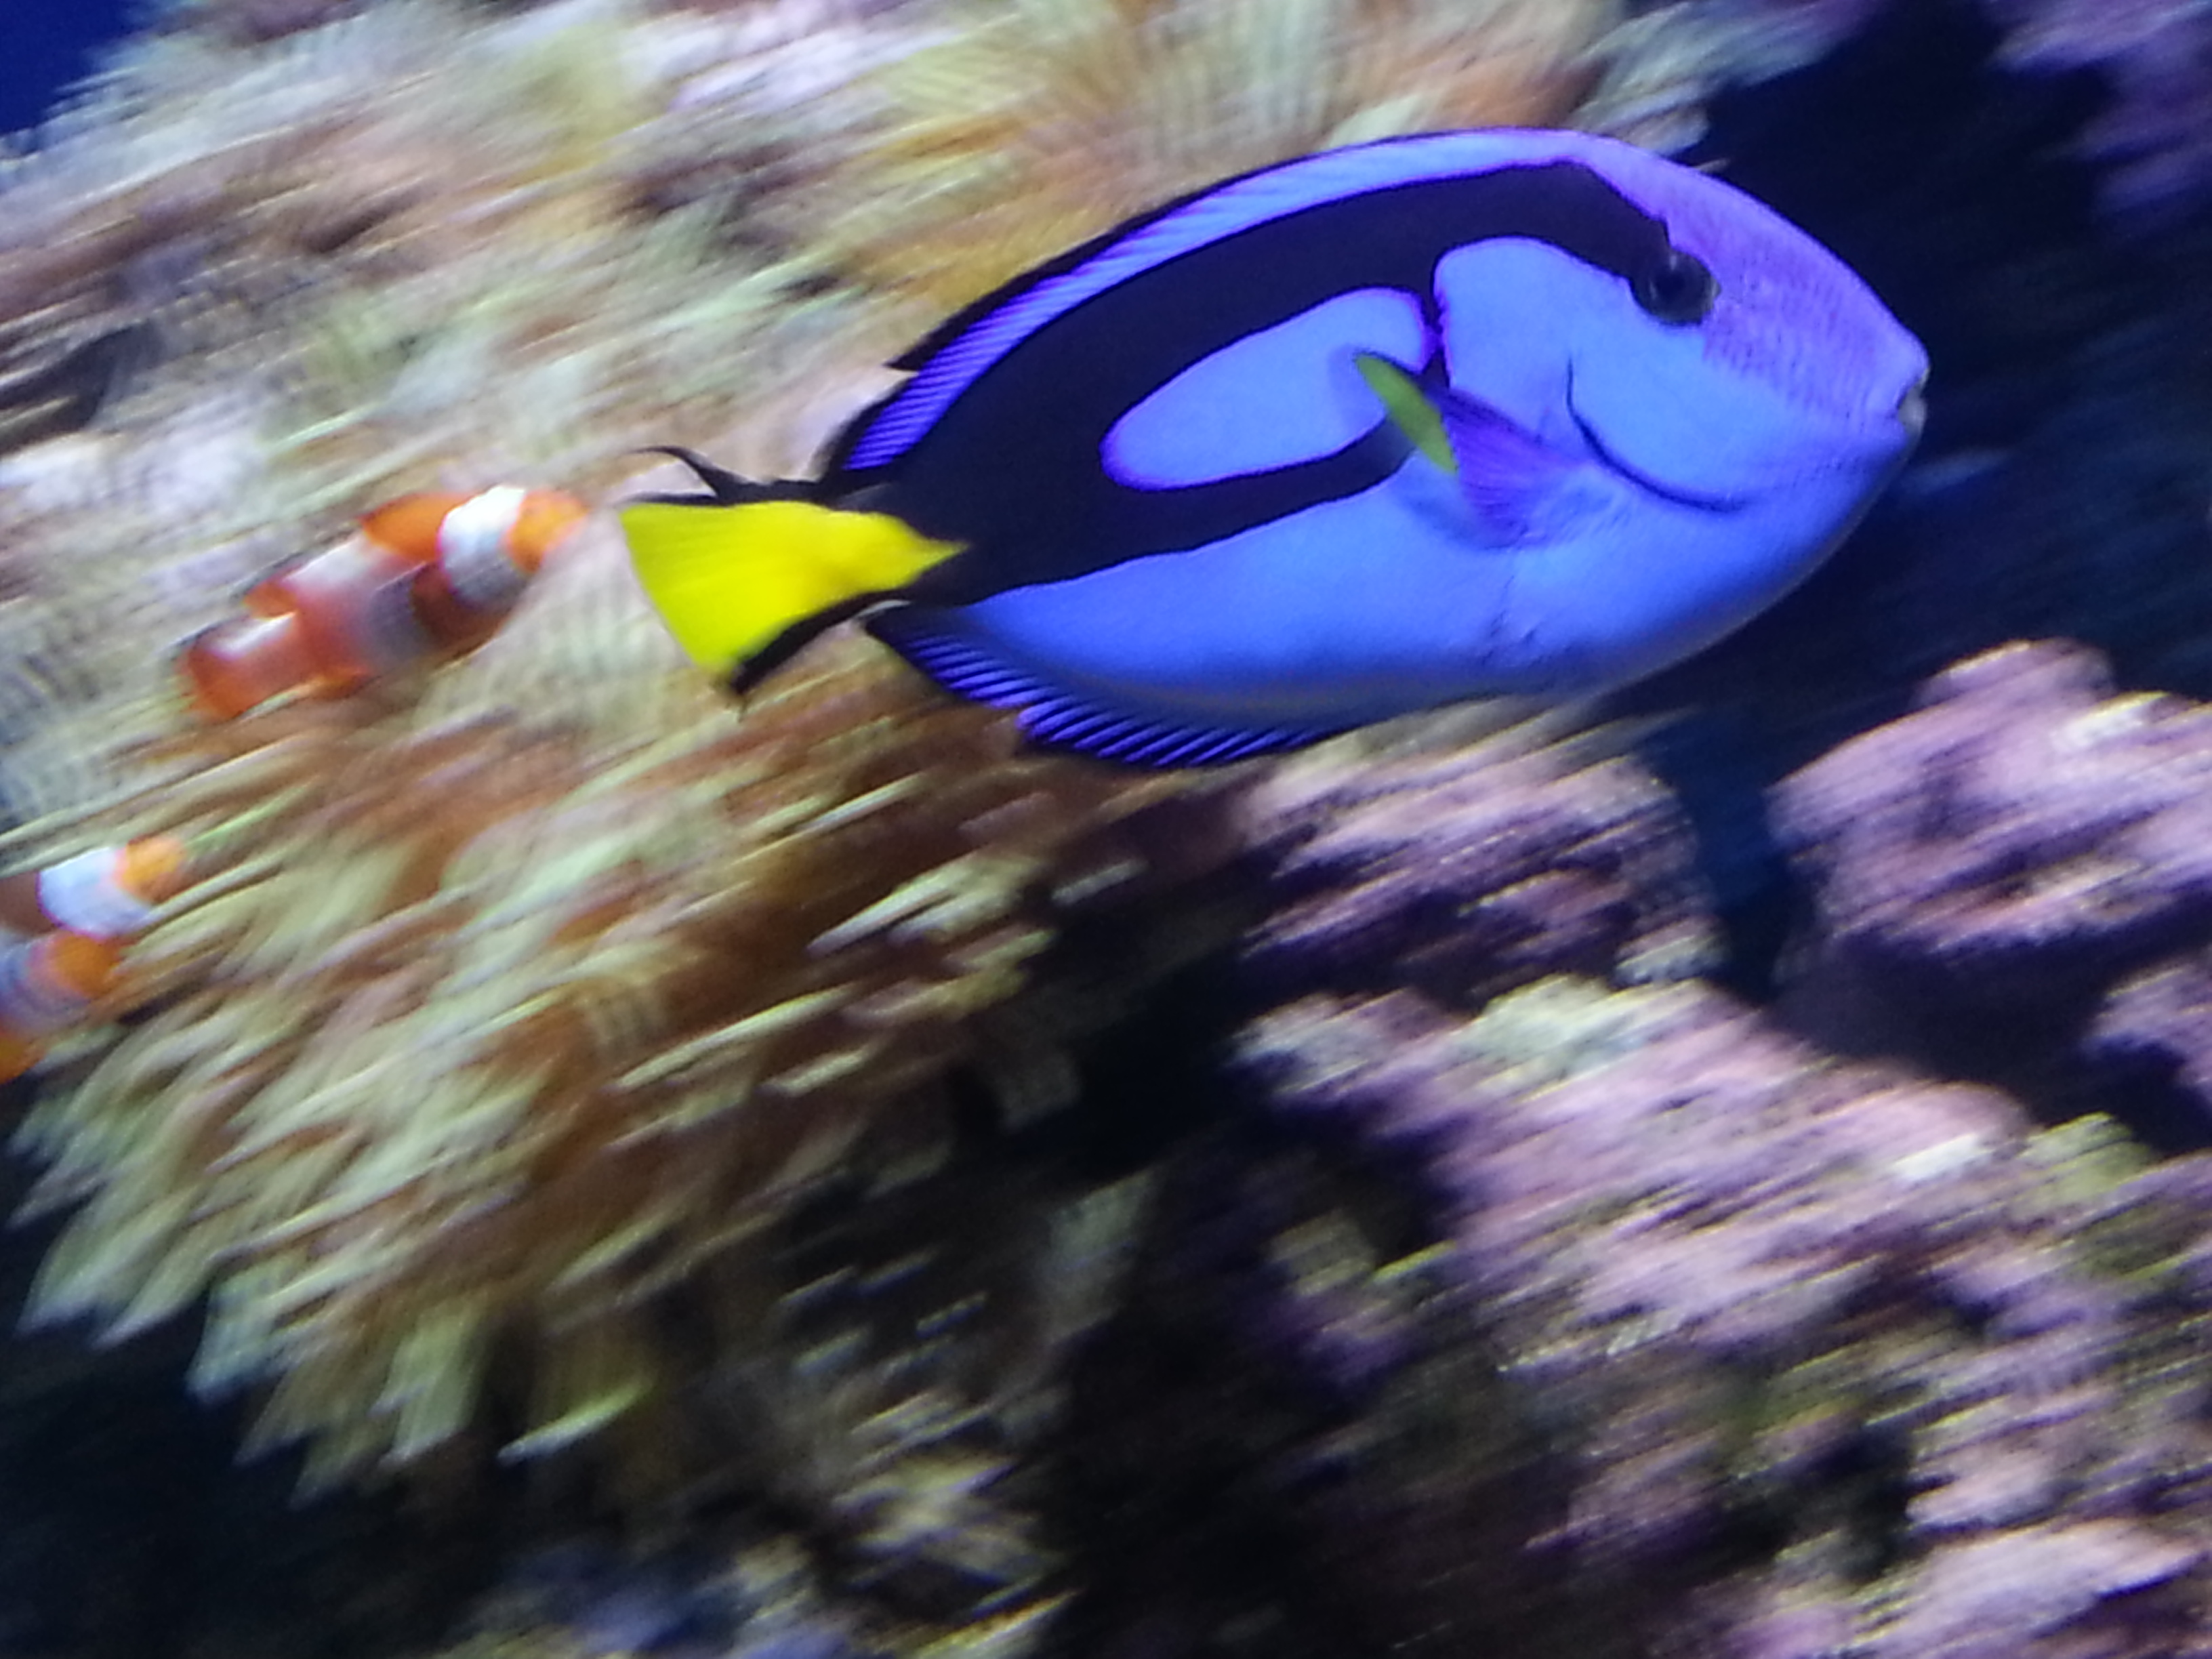
Making GIFs is one of the main functions in GIF Studio. The process sequences many images as frames in a GIF file. The following GIF composes of 5 photos that shot in the Underwater World Singapore (click to view the animation). You can download them from: image1, image2, image3, image4 and image5.

an animated gif of the Underwater world
Step 1: Locate and Select Photos
Collect the photos will be used in GIF and put them in one of the folders that GIF Studio can reach.
When you select “Create Animated GIF” -> “With Images“, GIF Studio searches photos from three default folders: GifStudio, Pictures, Download and DCIM. If you need photos from other locations, just copy them into one of the default folders (or their subfolders). Select the ‘Folder’, GIF Studio will display the contents of the folder. Refer to “Image Selection in GIF Studio“, browse and select the images. When you select an image, a sequence number will appear. It marks your selection and indicates the display sequence in the GIF. Rearrange the images in the correct order according to your design. Click the same image again to deselect it. After selecting the image sequence, press the “Select” button on the Action Bar (the tick shape icon), the GIF configuration screen will pop up.
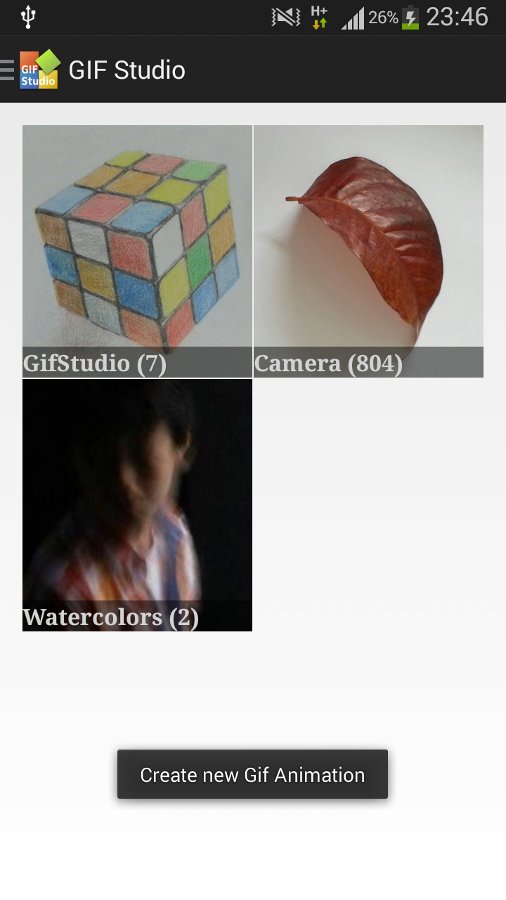
Select the photo folder
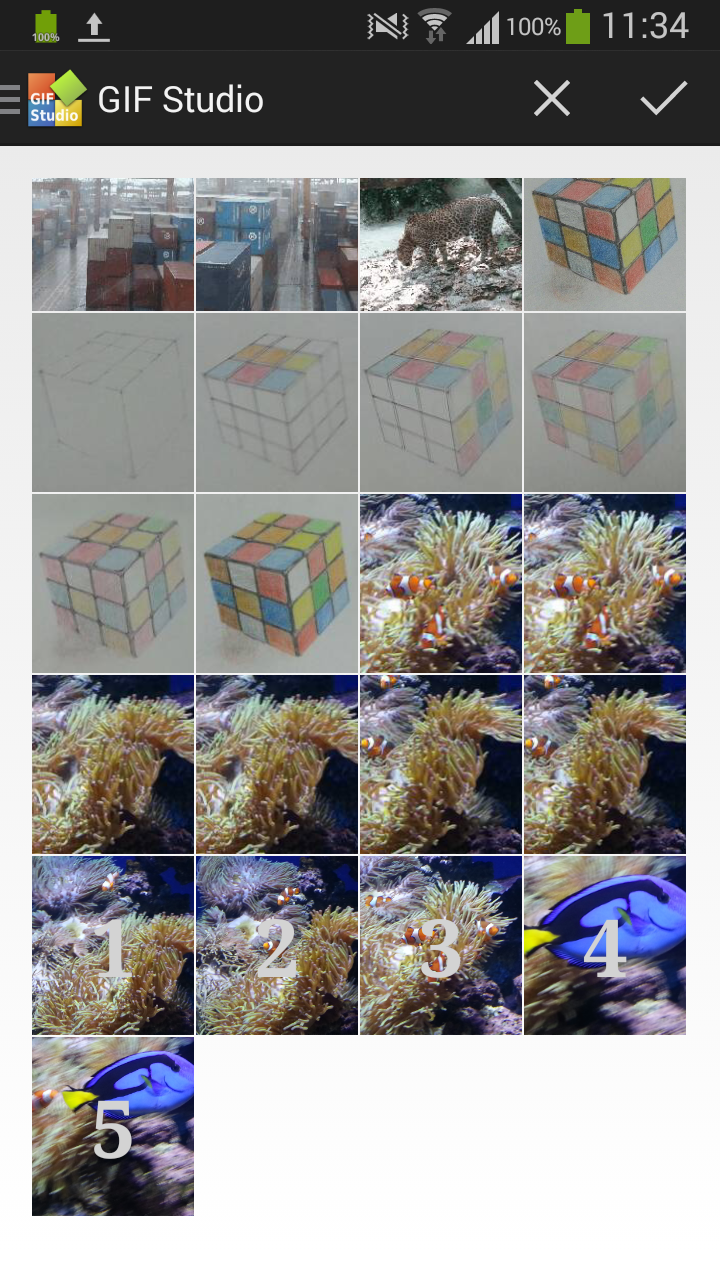
Image Selection in GIF Studio
Step 2: Create the GIF Animation
The parameter options are easy to understand here. You can resize the canvas by adjusting the Width and Height parameters, select the delay between subsequent slides through the Speed parameter. You can reverse the image sequence by the “Reverse” check box. The GIF Studio saves the output file in “/sdcard/Pictures/GifStudio/Album” folder. It generates the file name based on current date and time, so you don’t need to worry about overwritten an existing GIF. Here, you really need to choose the appearance of the GIF (size and speed) and then preview the animation before saving it.
Step 3 – Save GIF File
To save your animated GIF, click the “Save” button on the Action Bar. A progress bar will pop up to show you the percentage of work completed. Depending on the parameters of the GIF, this may take from a few seconds to a few minutes to complete.
Step 4 – The last but not least: add text over GIFs
GIF Studio will display the animation in the GIF player screen. You can easily add text on the animated GIF. Learn more about this function visit page: Making a greeting card in just a few steps.
Watch a 4-minute video
Watch the demo video to take a quick peek at how easy it is to make a GIF from photos and other functions in GIF Studio.
-
Further Reading
For more info, check out the following articles:
- GIF Studio – How to
- GIF Studio – frequently asked questions (FAQ)
- GIF Studio-Making a greeting card in just a few steps.
- How to share animated GIFs with Google Plus.
- How to make animated GIFs from photos
- GIF Studio-Screen Shots
- GIF Studio-Album

")